Microsoft Remote Desktop is a handy application that enables users to access computers from one location to another remotely. You can do this from your desktop to a remote computer and grant other users access to your remote computer. However, there are many steps to follow to perform this task successfully.
Configure local resources during a remote desktop session
Microsoft Remote Desktop Services allows users to configure local resources during a remote desktop session. These resources include local drives and printers. By doing so, users can access and share non-shared components traditionally. The configuration of these components is a significant step for out-of-office users.
This option is available in the Advanced settings of Remote Desktop. It can be used to display the cursor of the remote system locally. In addition, it also allows users to set Windows themes on terminal server windows.
Another feature of the Remote Desktop Client is connecting to USB drives. This feature allows users to copy information from the terminal server to local client directories.
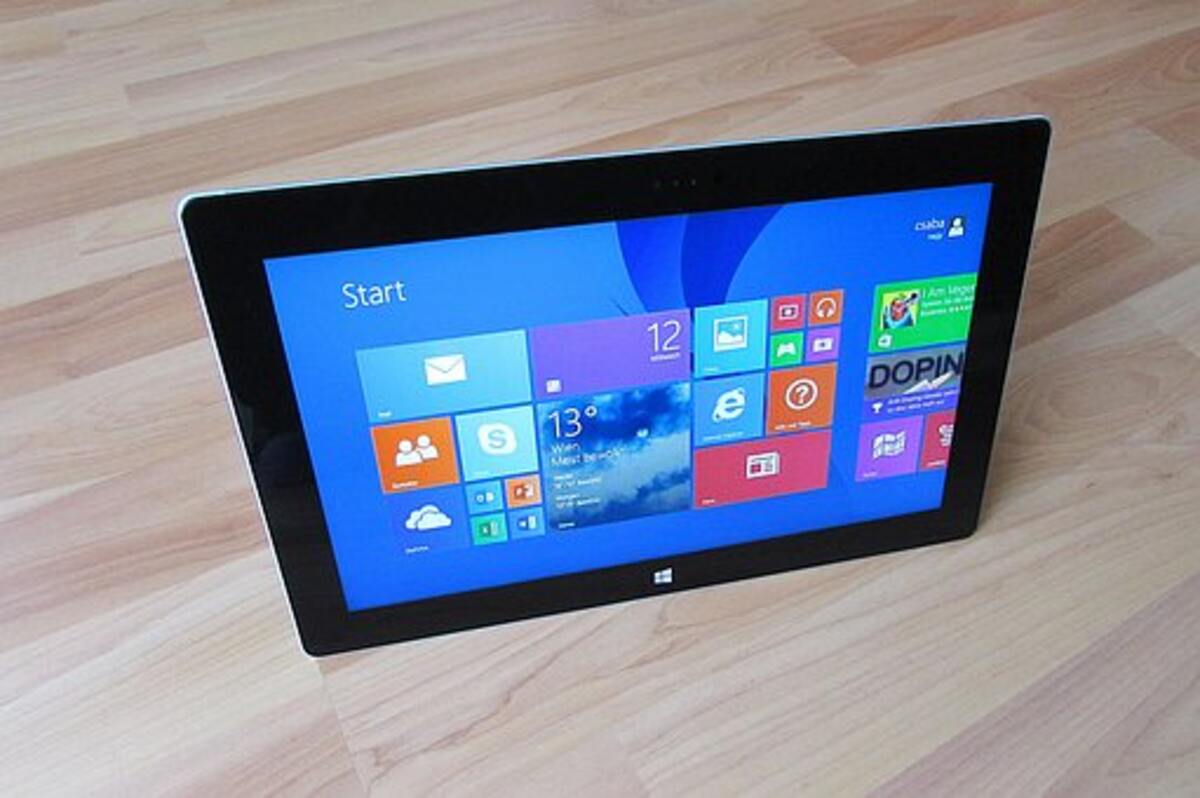
Users need to download the remote desktop software to use the feature. This software is available on the App Store for Mac users. If they need help installing it, they can consult the Microsoft Self-Service site.
To begin the installation process, users must log in to the ICS. They will then be prompted to enter target server credentials.
Grant remote access to a different account
If you’ve been given access to a different account on a Windows computer, you can use that permission to connect remotely. This allows you to access files, run applications, and view your desktop on another computer. However, before you can do that, you must ensure you have the proper settings in place.
First, you must ensure that your remote device is in a good, trusted network. Specifically, it needs a public IP address. You also need to have your local account’s sign-in information. For example, if you’re using a Microsoft account, you must enter your username and password.
Next, you must enable the correct settings to access properly. For example, you can enable Always-ON Remote Access. Alternatively, you can enable Network Level Authentication if you want extra security.
In addition to those, you should also check out the In-Session feature. Here, you can see a list of computers currently in an active remote session. Also, you can filter the computers on the list by their status.
Adjust the connection speed to control performance
If you are using Microsoft Remote Desktop to access your workstation from afar, you may need to adjust the connection speed to enhance performance. There are several factors to consider when choosing a network speed, including the type of broadband you have. In addition, the resolution of the remote PC is also important. This is because the higher the resolution, the better the image quality.
Choosing a high-quality HD option is the best way to achieve this. It offers the smoothest transition and the least amount of latency. Depending on your network connection, the image may be scaled down.
However, scaling down the picture is not always necessary. Sometimes, a low-bandwidth connection is sufficient for a decent image. For instance, a 56 kbps modem provides persistent bitmap caching.
The Display tab lets you set the size and color depth of the small window. Changing the screen size allows you to adjust the view of the remote desktop. Likewise, adjusting the color quality can be beneficial.
Connect to a remote computer lab
If you are a student, you may want to use Microsoft Remote Desktop to connect to a remote computer lab. This software can be downloaded from the Windows or Mac App Store.
First, you’ll need to ensure your home PC or Mac has a network connection. Many machines come with the application already installed, so you should be able to access the network from a distance. The software is also available on Google Play and the Chrome Web Store.
After downloading the app, open it and select the option to “Subscribe with URL.” You should be prompted with a security warning when you try to connect. However, the sign is safe to dismiss.
Next, go to the remote computer lab’s web page. It should show the name and address of the remote computer lab, along with the ID of the student. In the password field, you’ll need to enter your UW NetID.